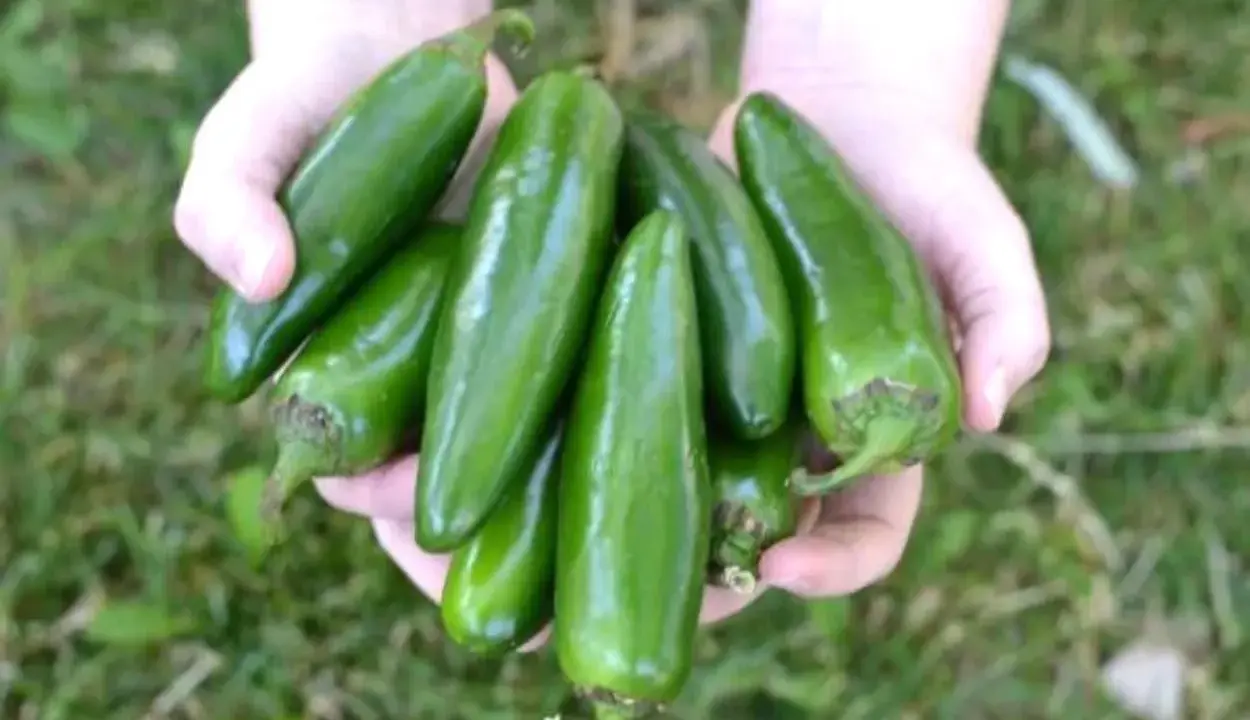
Green pepper plants are a straightforward warm-season crop, but they only pay off when the site, timing, and watering all line up. In this guide I focus on the parts that actually change the harvest: how to start them, what kind of sun and soil they want, how to keep fruit set steady, and when to pick for the crisp green stage most cooks want.
The shortest path to a better pepper crop
- Wait to plant until the soil is warm and nighttime temperatures stay above 50°F.
- Give peppers full sun, good drainage, and a soil pH that stays roughly between 6.0 and 6.8.
- Use stocky transplants or start seed indoors 8 to 10 weeks before your last frost date.
- Water deeply and evenly, aiming for about 1 inch per week in the ground.
- Avoid heavy nitrogen feeding, which pushes leaves instead of fruit.
- Harvest green bells when they are full size, firm, and still before color starts to shift.
Why the green stage matters for flavor and timing
With bell peppers, “green” is usually a harvest stage, not a separate species. The fruit can be picked once it reaches mature size and firmness, even if it has not begun to turn red, yellow, or orange. In a typical U.S. garden, that green stage often arrives about 70 to 80 days after transplanting, while full color may need another 2 to 3 weeks if the weather stays warm enough.
I like to think of it this way: green peppers give you a firmer, less sweet, more savory fruit, while fully colored peppers usually taste sweeter and a little richer. Neither is better in every dish. Green is the better call for stuffing, sautéing, fajitas, and anything that needs a sturdier bite. Colored fruit makes more sense when you want sweetness or a softer finish.
| Harvest stage | Texture and taste | Best use | What to look for |
|---|---|---|---|
| Mature green | Firm, crisp, and less sweet | Stuffing, stir-fries, salads, roasting | Full size, glossy skin, no soft spots |
| Fully colored | Sweeter, more aromatic, slightly softer | Fresh eating, roasting, preserves | Uniform color beginning to develop across the fruit |
That timing matters because the plant can only finish ripening if the season gives it enough warm days. Once nights cool down, green harvest may be the more realistic target. That leads straight to the biggest decision in the bed: the site.
Give them the site and soil they need
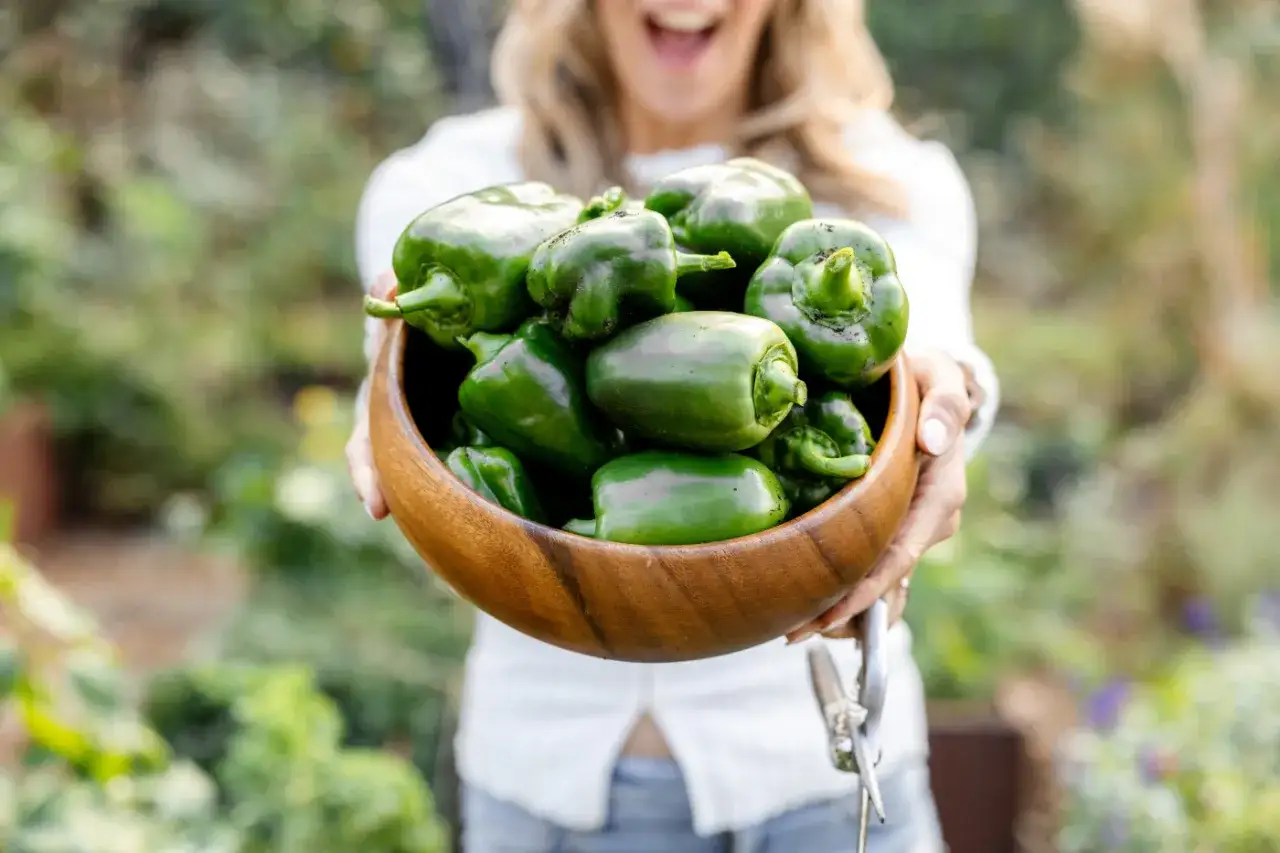
Peppers are not difficult, but they are picky about warmth. I would never place them in a bed that gets less than 6 hours of direct sun, and I prefer 8 if the space allows it. They also want warm soil, good drainage, and enough room for air to move around the foliage. If the ground stays cold, the plants often sit still instead of growing.
| Growing factor | Practical target |
|---|---|
| Sunlight | At least 6 hours, with 8 to 10 hours preferred |
| Soil temperature at planting | About 65°F or warmer |
| Night temperature | Above 50°F before transplanting outdoors |
| Soil pH | Roughly 6.0 to 6.8, with slightly acidic soil working well |
| Spacing | About 18 inches between plants, with 24 to 36 inches between rows |
| Rotation | Avoid planting after tomatoes, potatoes, eggplants, peppers, or tomatillos for 3 to 4 years |
That last line matters more than many home gardeners expect. Rotating away from the nightshade family lowers the pressure from soilborne diseases and helps keep the patch productive longer. I also avoid cramming peppers into rich soil that has been loaded with nitrogen, because that usually produces a lush plant with disappointing fruit.
If your soil is already heavy or slow to drain, raised beds are often easier to manage than flat ground. The warmth advantage is real, but the drainage has to be right. Next comes the part where many good crops are lost before they even reach the garden: starting and transplanting.
Start with strong seedlings and plant at the right time
For most gardeners, peppers are far better as transplants than direct-seeded plants. Seeds can work, but they need warmth, patience, and a longer indoor lead time than tomatoes. I usually start them indoors 8 to 10 weeks before the average last frost date, and I keep them warm until they sprout.
Starting from seed
- Plant seed about 1/4 inch deep in a sterile, soilless mix.
- Keep the mix warm, ideally around 80°F to 90°F, until germination.
- Once seedlings emerge, move them under bright overhead light so they do not stretch.
- Let the root zone stay moist, but never soggy.
Read Also: Pruning Potted Tomatoes - Maximize Your Harvest!
Buying transplants
- Choose stocky plants, ideally with 3 to 5 sets of true leaves.
- Look for stems that feel sturdy rather than thin and floppy.
- Avoid plants already carrying flowers or fruit, because they often stall after transplanting.
- Skip any plant with leaf spots, yellowing, or a crowded root ball pushing out of the pot.
Before the plants go outside, harden them off for about a week by gradually increasing sun, wind, and outdoor exposure. Then transplant only after the danger of frost has passed and the soil has genuinely warmed. A cloudy, calm afternoon is better than a blazing hot midday. Water well before and after planting, and set the crown at the same depth it was growing in the pot.
The goal here is simple: no shock, no stall, no wasted month. If the start is strong, the rest of the season becomes much easier to manage.
Keep flowering steady with water, mulch, and the right feed
Once peppers are established, consistency matters more than heroics. I aim for roughly 1 inch of water per week in the ground, more often during heat waves or in containers. Deep watering is better than frequent shallow splashes because it pushes roots downward and reduces stress. Wide swings from dry to soaked are one of the main reasons fruit quality falls apart.Mulch helps more than most people think. A layer of organic mulch around the base keeps moisture from evaporating too quickly, slows weeds, and reduces soil compaction after heavy rain. It also gives you a little more margin when the weather turns erratic, which is common in many U.S. summers.
Feeding is where gardeners often overcorrect. Peppers do need fertility, but too much nitrogen makes them leafy and delays fruiting. A starter fertilizer at planting is useful, then a light side-dressing after the first fruit set if the plants need a boost. If you have not tested the soil, a soil test is still the best decision you can make before reaching for a bag of fertilizer.One caution worth repeating: blossom-end rot is usually a moisture management problem, not a simple “the plant needs more calcium” problem. The fruit cannot move calcium well when watering is inconsistent or roots are stressed. Fix the water pattern first, then judge the rest.
The problems I check first before blaming the variety
When peppers struggle, I do not start by assuming the cultivar is weak. I look at the growing conditions first. More often than not, the issue is heat, cold, moisture swings, or a disease that came in because the plants were crowded or stressed.
| Problem | What it looks like | What usually helps |
|---|---|---|
| Blossom-end rot | Dark, leathery damage at the blossom end of the fruit | Even watering, mulch, less root stress, and a soil test |
| Flower drop | Blossoms fall without setting fruit | More stable temperatures, less nitrogen, and steadier moisture |
| Sunscald | Pale or white patches on exposed fruit | Keep enough foliage to shade the peppers and avoid stripping too many leaves |
| Leaf spots and blight | Spots, yellowing, or declining leaves | Rotate crops, water at the base, and remove badly affected material |
Heat matters a lot here. When daytime temperatures climb above 90°F during flowering, peppers often drop blossoms or set misshapen fruit. Cold nights can do the same in the opposite direction. That is why timing is so important in the U.S., where spring can feel warm for a week and then turn cool again.
If I had to pick only three defenses for a backyard patch, I would choose rotation, mulch, and careful watering. Those three do more than most sprays, and they work before problems become visible.
Pick the crop for flavor, not for display
Green bell peppers should be harvested when they are full size, firm, and still before any red or brown color starts to show. Use a knife, pruners, or scissors rather than yanking the fruit by hand. Pepper stems can break easily, and a snapped branch costs you the next flush of fruit.
Harvesting regularly is not just about getting dinner. It also keeps the plant producing. If fruit is left on the plant too long, especially in a short season, the plant spends more energy ripening what is already there instead of making new flowers. In a good season, that can mean the difference between a modest harvest and a patch that keeps feeding you for weeks.
For storage, the practical rule is to keep peppers cool, dry, and uncrushed. For the longest holding time, mature green fruit keep best in high humidity around 50°F to 54°F, but most home gardeners will simply refrigerate them for short-term use. If you want a sweeter pepper, leave a few fruits on the plant to color fully and keep the rest coming in green. That way you get both textures without asking one plant to do everything at once.
In a typical U.S. backyard, I would prioritize warm soil, steady moisture, and frequent harvests over almost everything else. If those three pieces are in place, the crop usually takes care of the rest.